IoT Docker container deployment via CI/CD - utilize qbee and Github for automation DevOps style
Why use CI/CD and containers in IoT applications?
Applications running in containers have increasingly become the de facto standard for deploying software applications. It’s a well established mechanism for deploying applications in a cloud environment, and has also become an increasingly popular mechanism to use for IoT. In the cloud world most organizations would use a CI/CD (Continuous Integration/Continuous Deployment) workflow where any change in code is resulting in a fully automated build and test process, followed by a deployment to the relevant production environment if all tests pass. This increases security, reliability and offers a much faster innovation and product improvement cycle.
Qbee offers an easy-to-use mechanism for deploying docker containers and can integrate with any CI system and effectively become the CD in CI/CD. This article shows a simple example on how to create a CI/CD workflow for docker deployments using qbee.io.
Preparations
Using the qbee.io device group you can distinguish between a development/pre-production environment and production environment. The picture below outlines the concept where we have one device bootstrapped to the “Development” group and one device bootstrapped to the “Production” group.
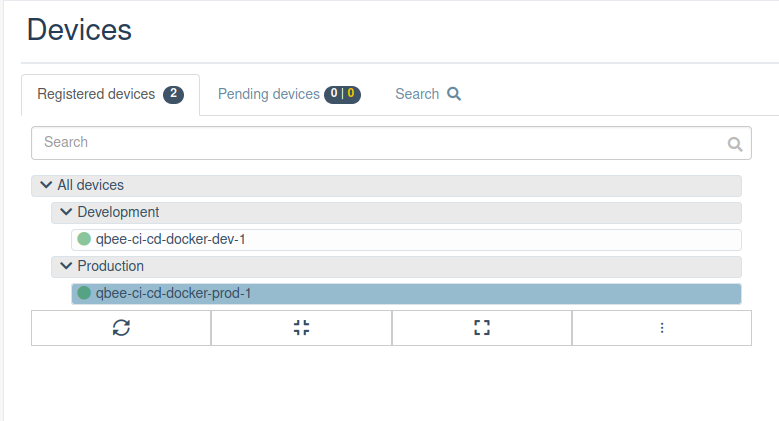
We note down the node ids for the different groups by inspecting the last part of the url in the browser when the group is selected: https://www.app.qbee.io/#/groups/ < node_id >
The group node_ids will be used as input for the CI system in use.
CI system
This example uses GitHub Actions as the CI system due to its seamless integration with the GitHub code versioning system, although any CI system could in principle be used (e.g. Jenkins, Travis, Circle CI, GitLab CI etc.).
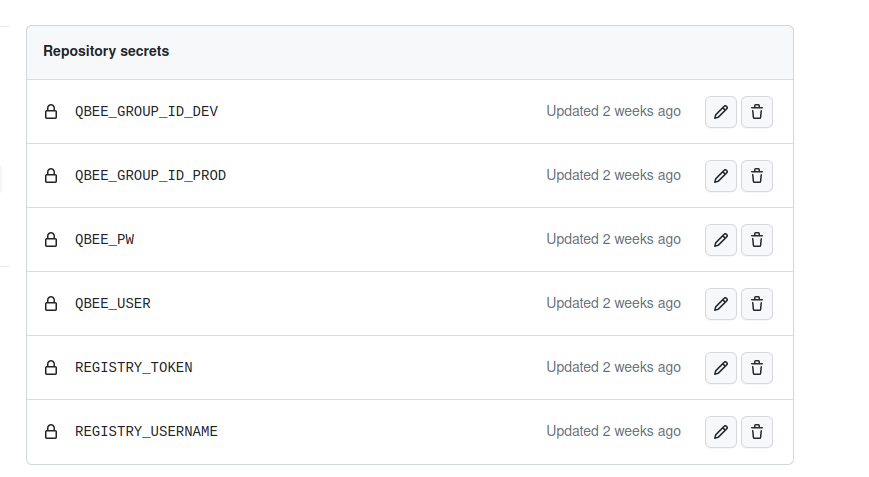
First off we need to add a few variables to the repository which we intend to deploy. We need the node ids from before, but we will also need credentials for qbee.io and the docker registry we intend to use. In GitHub this is added under “Settings -> Secrets and Variables -> Actions -> Repository secrets”
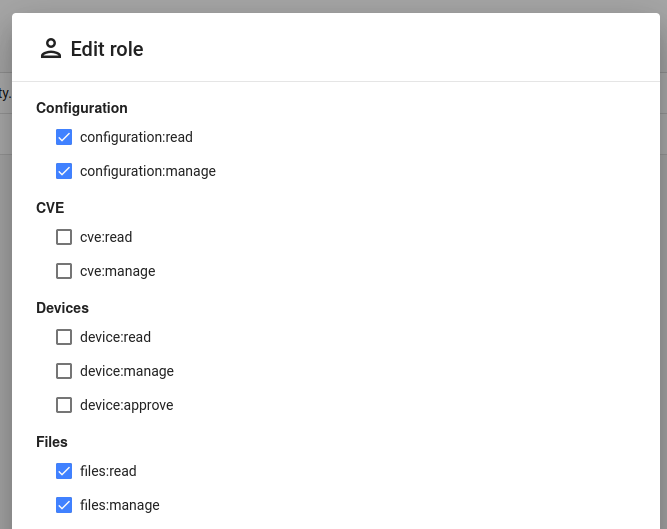
For this example we use a dedicated qbee user which is assigned a role that is restricted to only do configuration changes.
Once this is in place we need to add a GitHub workflow for our repository. An example of such a workflow can be found here: https://github.com/qbee-io/qbee-usecases/blob/ci-cd-docker/.github/workflows/main.yml
The steps are essentially as follows:
Step 1: Determine device group and version
The first step is essentially a shell snippet designed to determine which device group to deploy a configuration to. Our example will deploy to the “Development” group. We are also setting the docker tag here (or application version) by using a classic semantic versioning scheme if the CI job is a result of a tag/release. The tag will be set to the short git commit id if the CI job is a result of a regular git push.
Step 2: Build and push docker image
The next steps are designed to setup the docker build environment and build/push the docker image of the application to a docker registry using standard docker build github actions.
Step 3: Authenticate with qbee.io
In order to apply and commit the configuration for the device group we need to obtain an authentication token using a custom GitHub action for qbee.io. The authentication token is needed for subsequent Qbee API calls.
Step 4: Replace values in a configuration template for qbee.io
We do not want to commit any secrets as part of the code, so we would like to leverage the secrets management in GitHub. The device will need login credentials in order to pull the newly built docker image. Also, we need to update the value for the docker image. We therefore construct a template file which we can use to pass to envsubst in order to populate with the correct values.
In the following we explain the setup steps in detail for the individual services. The directory structure is as follows:
qbee-config.json.template
{
  "enabled": true,
  "version": "v1",
  "items": [
    {
      "name": "my-test-app",
      "image": "$DOCKER_IMAGE",
      "docker_args": "-p 8080:80 -e MY_VAR_1=MY_VALUE_1",
      "env_file": "",
      "command": ""
    }
  ],
  "registry_auths": [
    {
      "username": "$REGISTRY_USERNAME",
      "password": "$REGISTRY_PASSWORD"
    }
  ]
}
Step 5: Push and commit configuration
Last step will push and commit the newly created configuration to qbee.io using the device group from the first step, the login token and the generated configuration file. This is done by using a custom GitHub action that handles all qbee.io configuration items.
Doing development
The workflow is set up to do a push of new configuration on every commit that is pushed to GitHub. Once the new configuration has been applied on a device, you can check the status of your application by using qbee-connect to port-forward to your application on the host.


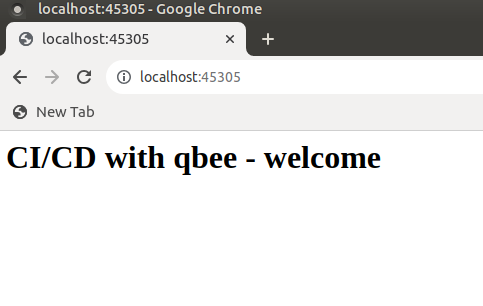
Our application is a simple static web application served with nginx, and we can now inspect it by using the qbee-connect port forwarding desktop application. We have set up our basic nginx webserver to listen on port 8080 which qbee-connect will forward traffic to using a private encrypted channel.
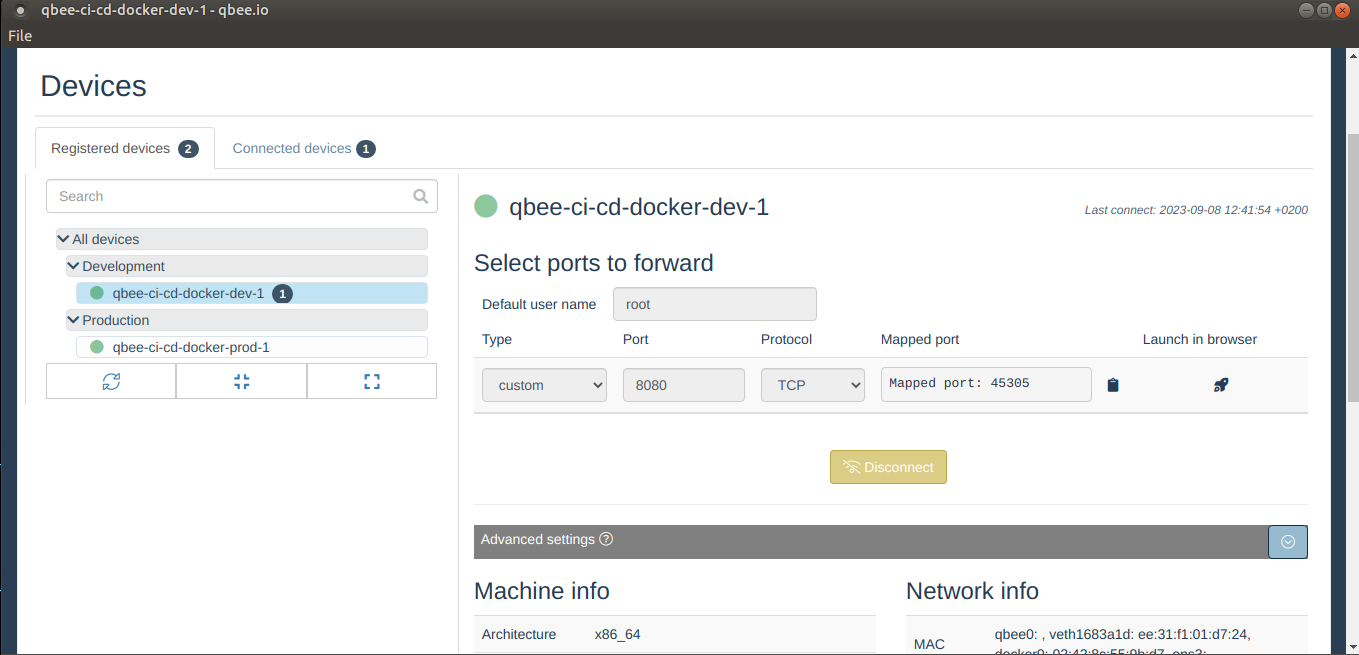
Once the port forwarding is established to the development device, we can access the application through web browser using the localhost address and the mapped port (45305 in this case).
Deploying to production
Once a development cycle has finished and automated/manual tests have passed, you are ready for production. As outlined in Step 1, CI builds based on tags will deploy to the “Production” group. A production deployment would therefore just be a matter of doing a tagging of the github repo. Once Qbee has set up the tagged version of the docker image, a log entry can be viewed in the logs tab.

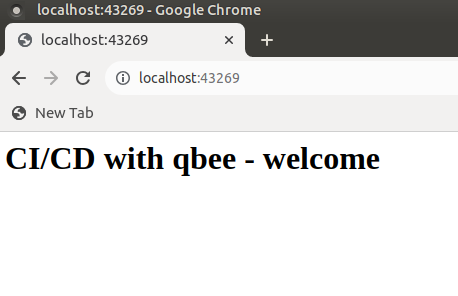
And we can once again check that the application is running by using qbee-connect to port-forward to it on the production device.

Here the web page output in the local browser.
Conclusion
CI/CD is an established concept in the world of cloud computing. The flexibility of the qbee platform brings the same concept to the world of IoT by simple integration with CI systems and acting as the CD (Continuous Deployment) driver. If you are interested in trying this out yourself, please refer to the simple example used in this use case: