If you work with industrial IoT (IIoT) or industry 4.0 applications you will eventually encounter a PLC. This stands for “Programmable Logic Controller” and these controllers are a core building block in many IoT projects. In this blog post we show you how to turn a Raspberry Pi into a PLC by installing the runtimes from OpenPLC. In addition, we make it fully manageable with the help of the qbee VPN. OpenPLC is a very nice open source PLC that runs on many different hardware platforms. There also is a second part of this tutorial which will fully automate OpenPLC and even introduce a CI/CD pipeline approach.
The pre-requisites we need are the following:
Now we will do the following steps to get this up and running:
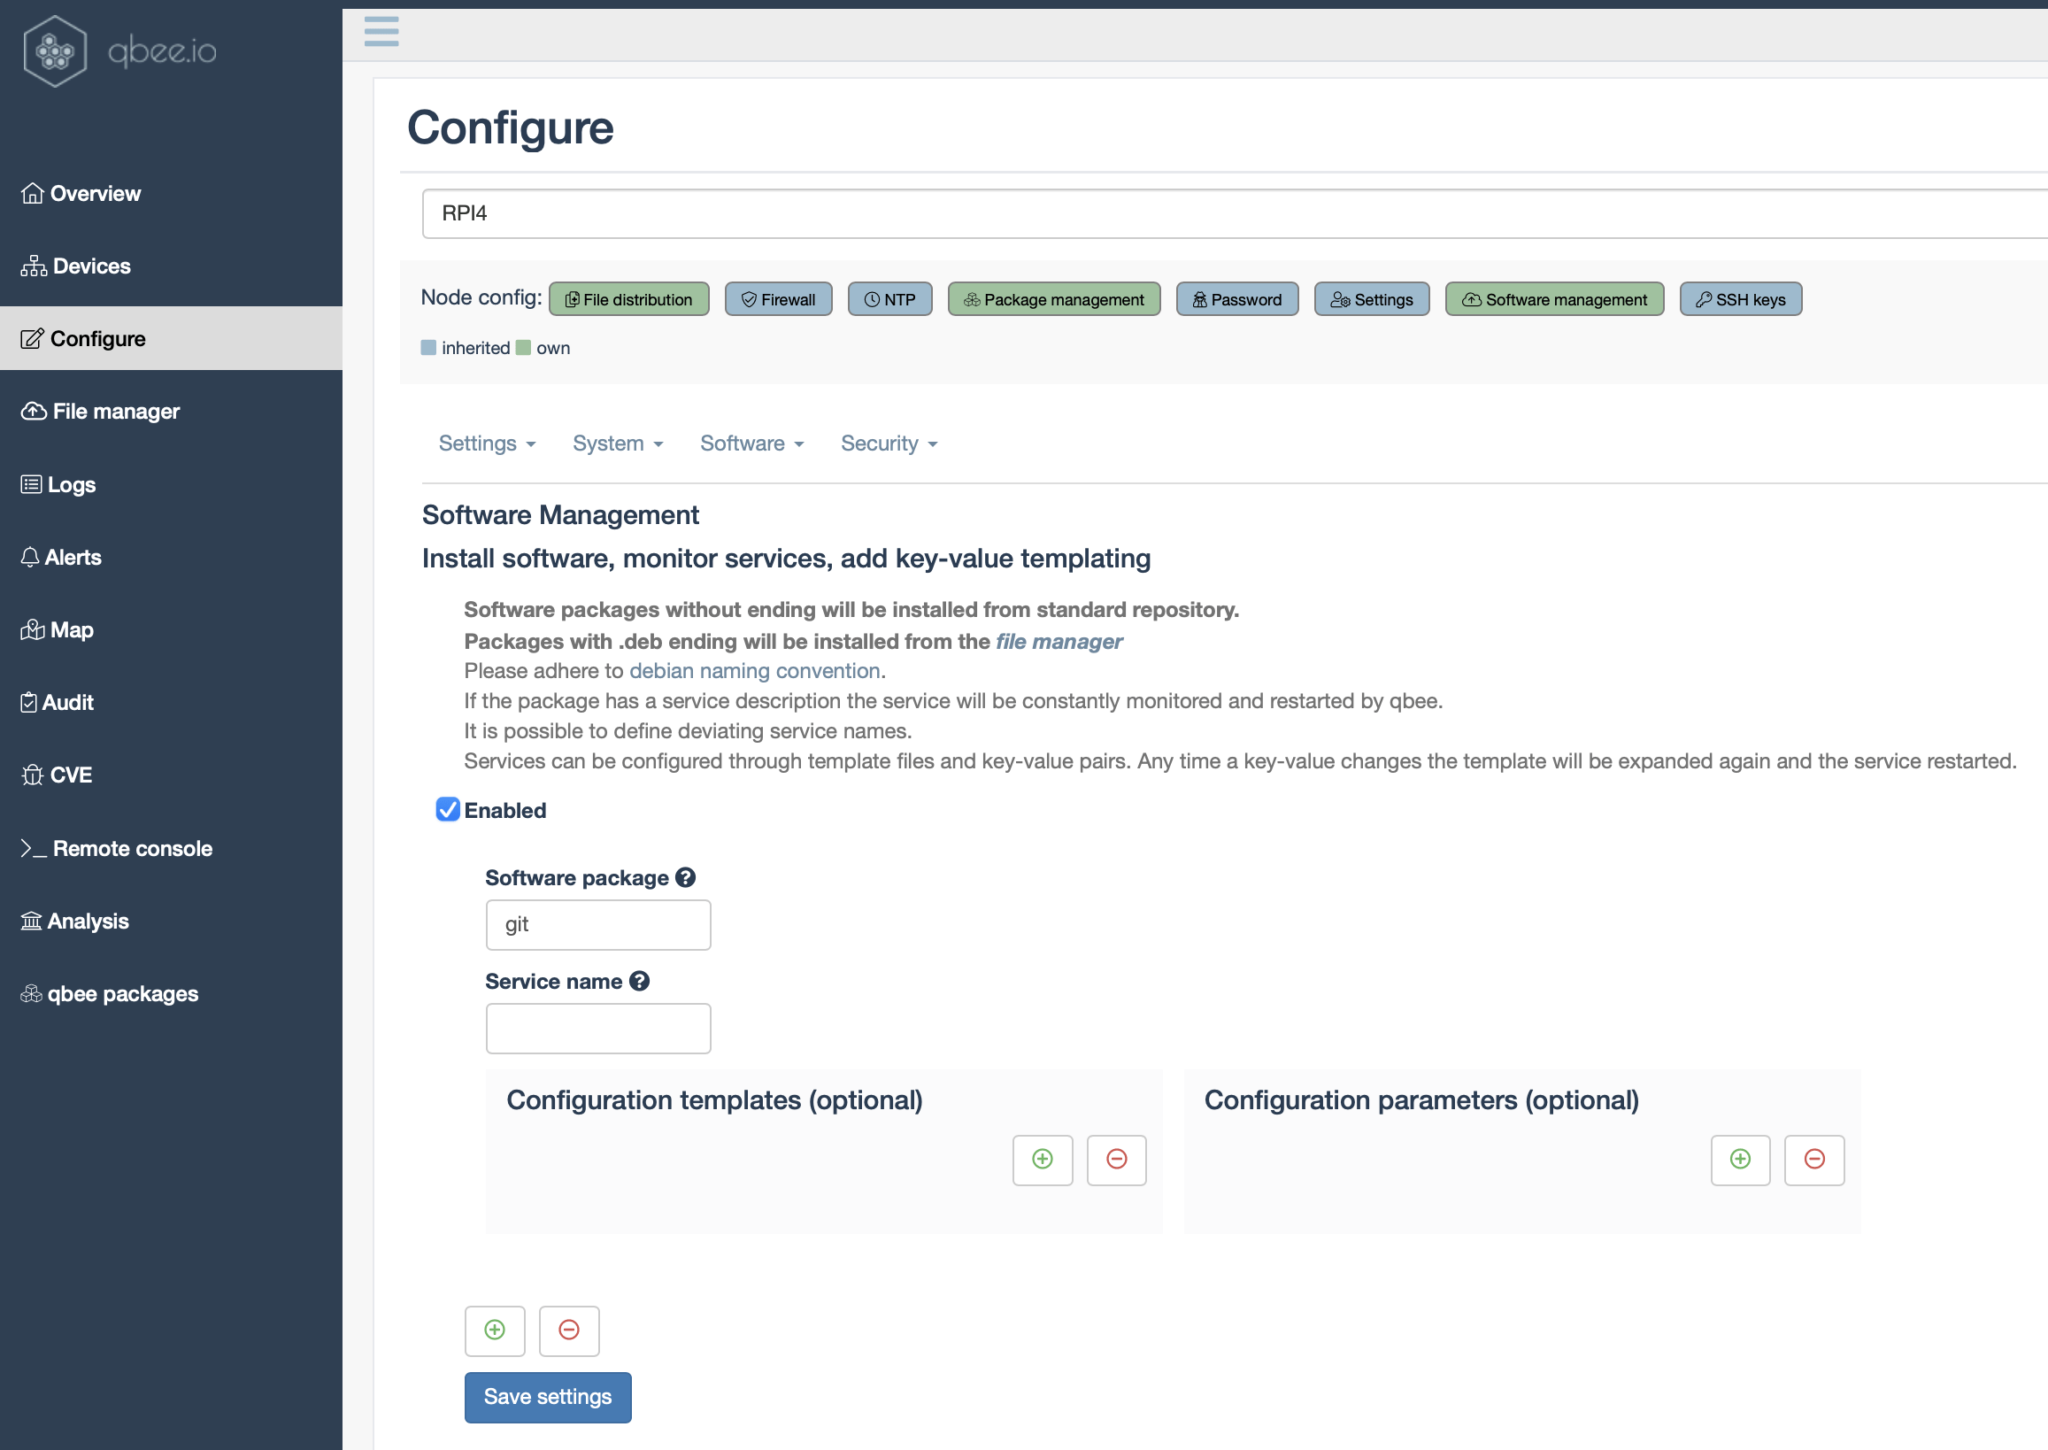
First we need to install the git library on the RPI since our script is cloning a repository from git. This can be done with qbee through the “Configure” tab. Go into software management, select that git should be installed and save and commit. After the next qbee agent run git will automatically be installed.

Now we need to create a script that automatically installs OpenPLC. We take most of the script from the official installation tutorial here. We call it “install-openplc.sh”:
#!/usr/bin/env bash

sudo -u pi git clone https://github.com/thiagoralves/OpenPLC_v3.git /home/pi/OpenPLC_v3/

/home/pi/OpenPLC_v3/install.sh rpi

/home/pi/OpenPLC_v3/start_openplc.sh &

exit 0
Now this needs to be uploaded into the qbee file manager. In this case we put it in the folder “openplc”. Now we can do a configuration with qbee that is called file distribution. We ask the automation engine to move the script into the /home/pi folder and then we execute it by invoking a bash command as “command to run”.

Now the installation will happen automatically for the device RPI4 and after ca. 30-45 minutes OpenPLC should be up and running. In the meantime we can create a software. We use the standard Hello-World.st from the here. You can edit this in the OpenPLC editor or as a file. But be aware that it does not work out of the box since you need to change the input pin. A Raspberry Pi has a built-in pull up resistor on pins IX0.0 & IX0.1. Therefore we use pin IX0.2 in the file. The resistor used is 820 Ohm, but anything between 100-1000 should work.

This leads us to the correct Hello-World.st file which is shown below. As mentioned you do not need the OpenPLC Editor, you can just edit it with a text editor. So we change IX0.0 to IX0.2.
PROGRAM Hello_World
  VAR
    my_button AT %IX0.2 : BOOL;
    lamp AT %QX0.0 : BOOL;
  END_VAR
  VAR
    TOF0 : TOF;
  END_VAR

  TOF0(IN := my_button, PT := T#2000ms);
  lamp := TOF0.Q;
END_PROGRAM


CONFIGURATION Config0

  RESOURCE Res0 ON PLC
    TASK task0(INTERVAL := T#20ms,PRIORITY := 0);
    PROGRAM instance0 WITH task0 : Hello_World;
  END_RESOURCE
END_CONFIGURATION
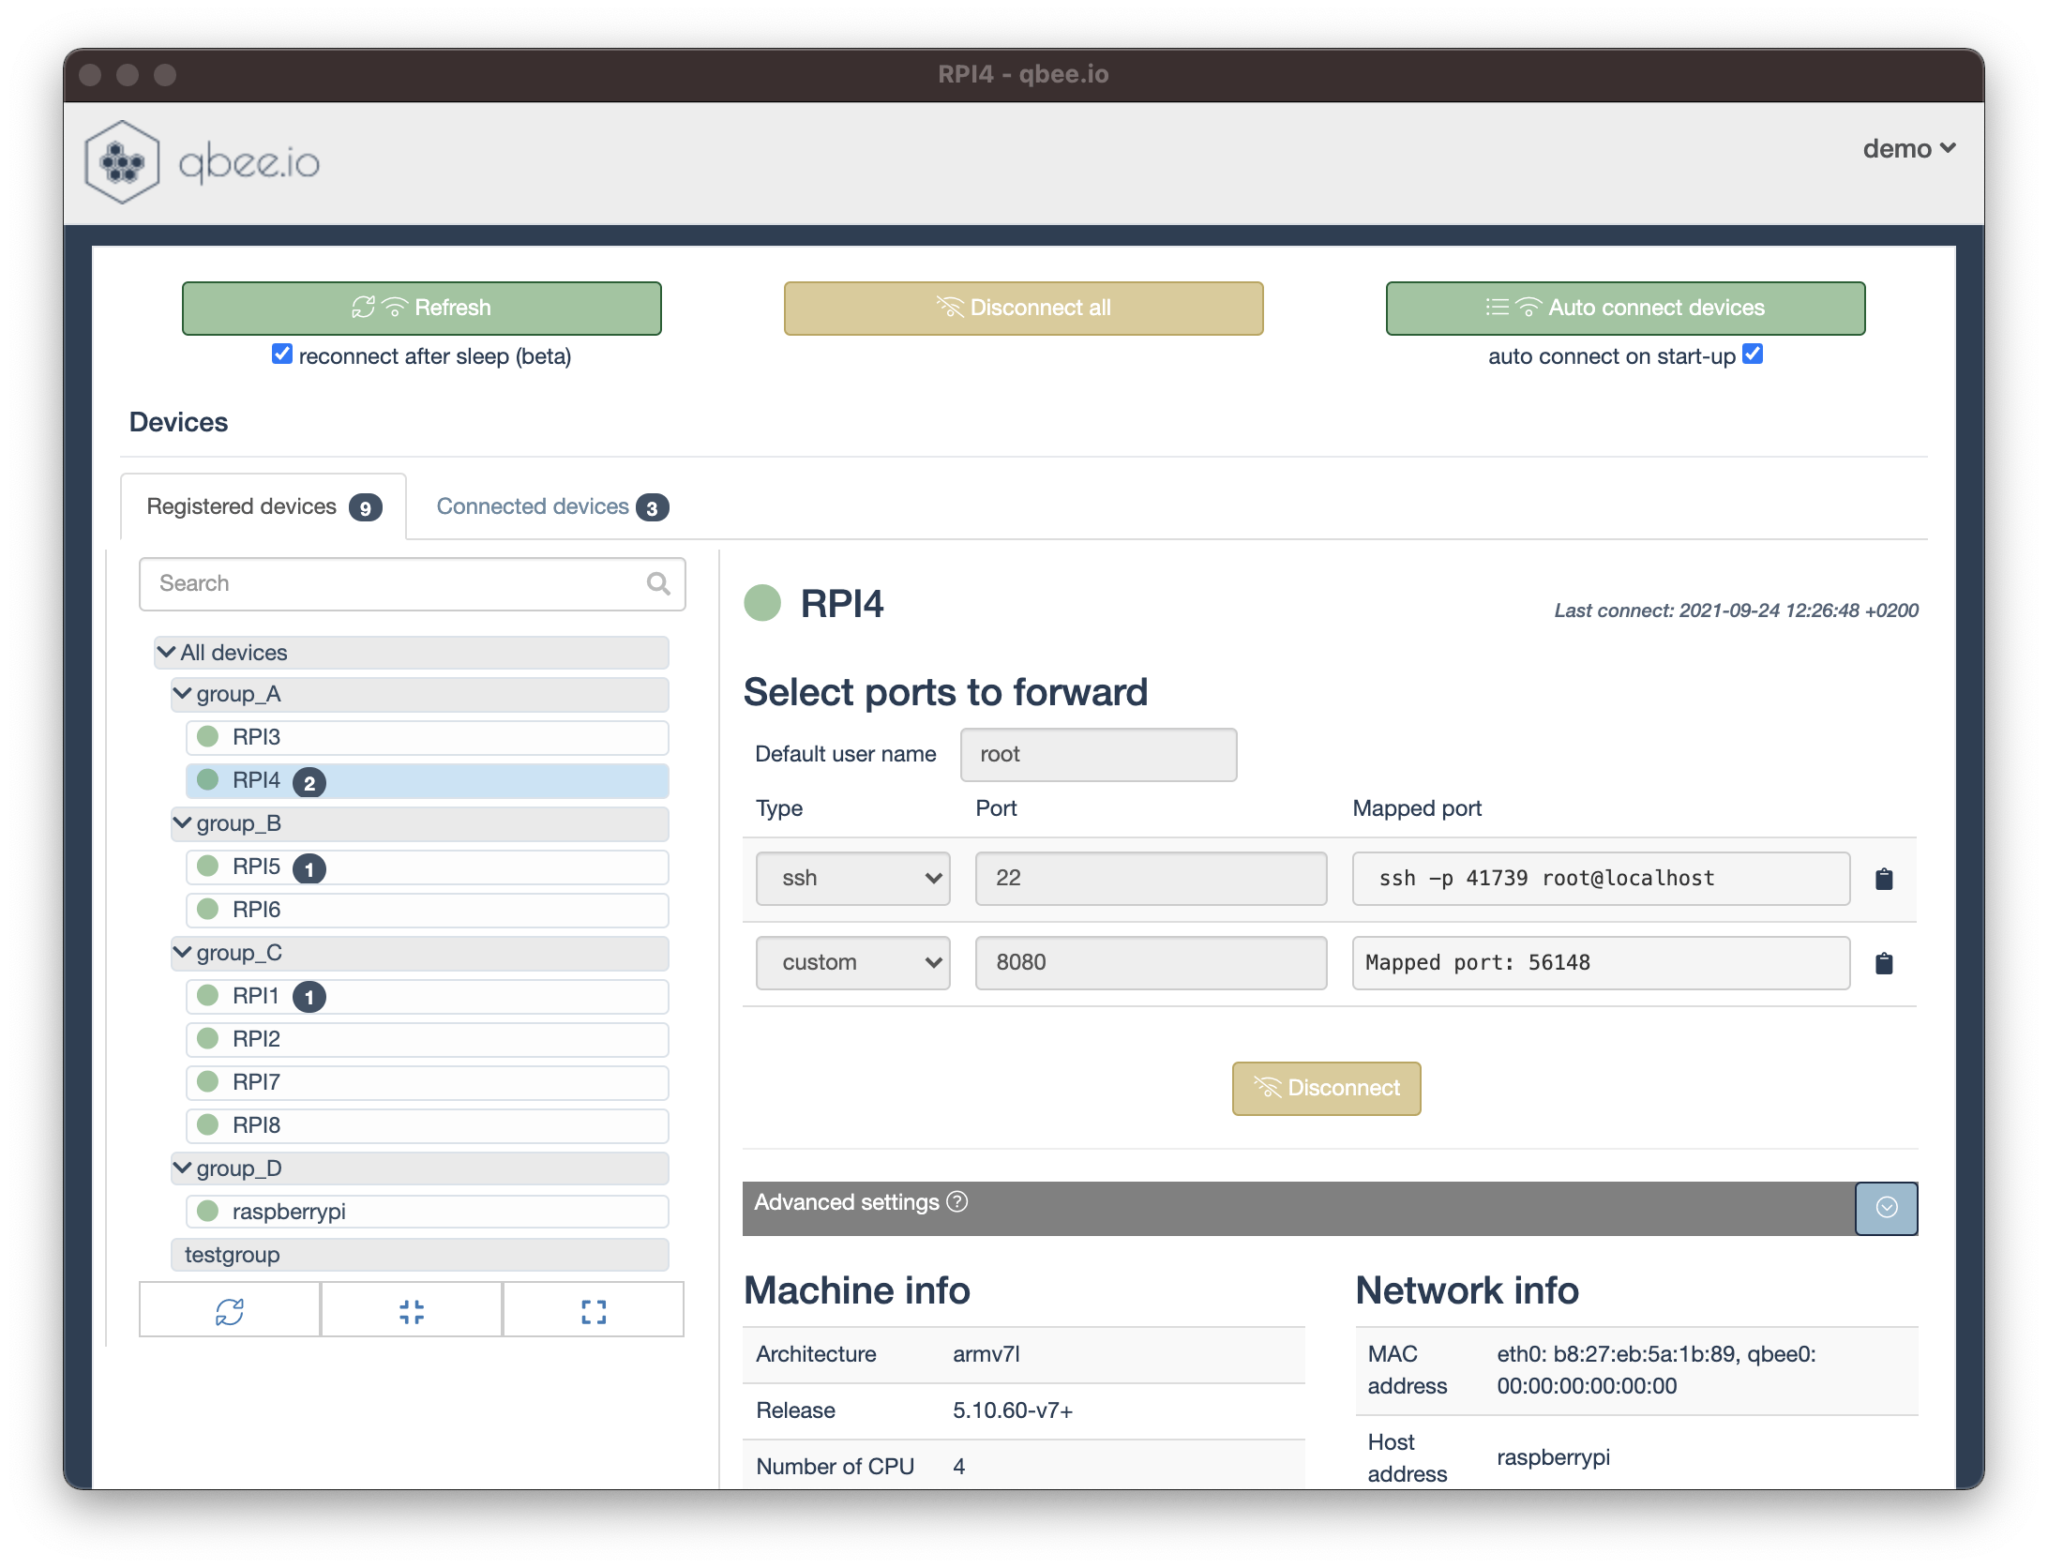
Now we can check if the installation is running by using the qbee VPN. Start qbee-connect, the VPN desktop app. This Teamviewer like desktop application for Windows, Linux and MacOS is part of qbee and allows to terminate any remote port on local host on your desktop. The OpenPLC controller will provide a UI on port 127.0.0.1:8080. The qbee agent can securely map that port to a different port on your desktop computer (port 56148 in this case):

Now it is possible to just point your local browser to “localhost:56148” and you will see your PLC no matter where in the world it is located.
If everything is done correctly and the circuit is connected to the Raspberry Pi it should now turn the light on for 2 seconds each time the switch is closed. In lack of a decent switch we just use some pieces of wire here.
This post showed how simple it is to use a Raspberry Pi as a PLC with OpenPLC. But no matter if you use an open source PLC or a commercial one qbee allows you to install and control those across networks and locations. In this tutorial we showed you how to install this on one device. But with the group function you can install and configure hundreds of devices very easily. This is shown in our second part of the tutorial called “Automated PLC deployment with CI/CD” . In addition, qbee will also take care of the firewall, users, passwords, ssh keys and OTA software updates.


